Why Static Web App?
I have a few older pieces of HTML and JavaScript that I use in some of my other dynamic websites but I wanted to see if I could migrate them to a free service to avoid having to pay for their hosting. I stumbled across Microsoft Azure Static Web App which is free for personal / hobby sites like mine and is the perfect fit! As with all the free services there are some limitations to consider you can view them here.
If you are looking to learn a more about it, you can always head to Microsoft Learn Static Web Apps Module
Prerequisites
Here is what you’ll need
Create your Repo
From GitHub Portal
Go to Repositories and Select “New”
Fill the required repository details and select “Create repository”
Repo Name is the only required field along with selecting Public vs Private. This depends on your requirements, but for my project I’ve selected Private
Now that my repo has been created I synchronise my repo to my local computer. My personal preference is to use the GitHub Desktop application
This will pop up in GitHub Desktop to clone the repo locally based on the local path you define
Once the repo is synchronised you can now go ahead and edit the content for your repository locally
Create your Static Web App in Azure
Now we will create the Static Web App before we publish content to it.
From the Azure Portal
- Navigate to the Azure portal.
- Select Create a Resource.
- Search for Static Web Apps.
- Select Static Web Apps.
- Select Create.
- In the Basics section, begin by configuring your new app and linking it to a GitHub repository.
- Select your Azure subscription.
- Select or Create your Resource Group.
- Give the Web App a Name.
- For Hosting plan Select Free
- Under Azure Functions and staging details, select a region closest to you.
- Under Deployment details, select GitHub.
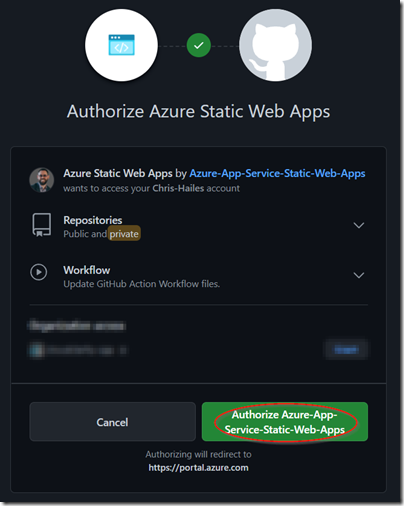
- Select the Sign-in with GitHub button and authenticate with GitHub.
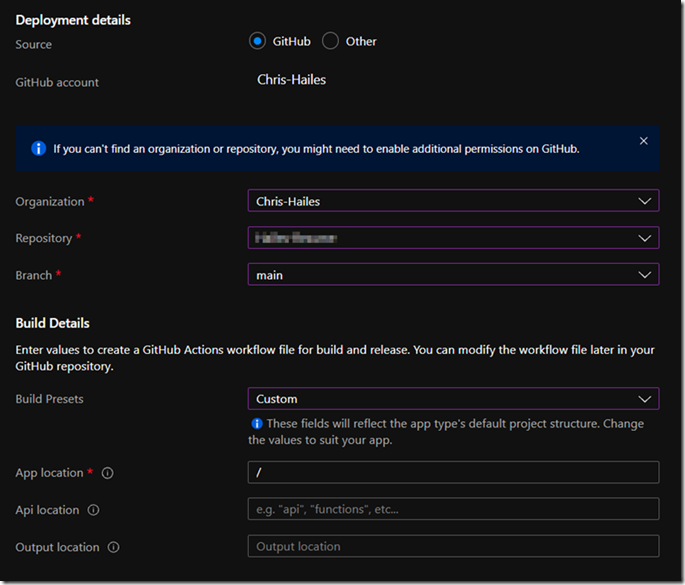
- After you sign in with GitHub, enter the repository information.
- Select your preferred Organization name.
- Select my-first-web-static-app from the Repository drop-down.
- Select main from the Branch drop-down.
- In the Build Details section, add configuration details specific to your preferred front-end framework.
- Select Custom from the Build Presets dropdown.
- Type ./ in the App location box.
- Leave the Api location box empty.
- Leave the Output location box empty.
- The configuration file is generated by GitHub and stored in the .github/workflows folder, named using the following format: <WebApp_Name>-<RANDOM_NAME>.yml.
- Select “Review + Create” to validate your selections
- Select “Create” to begin the deployment
- Once ready you can click on “Go to Resource”
Prepare your content
Go ahead and create and edit your content locally based on your GitHub Repo clone, the minimum requirement is that the webapp must include a index.html in the root folder
If you are looking for a basic example of static HTML page you could use something like Responsive webpage by Sen Yang on Codepen.io
Commit
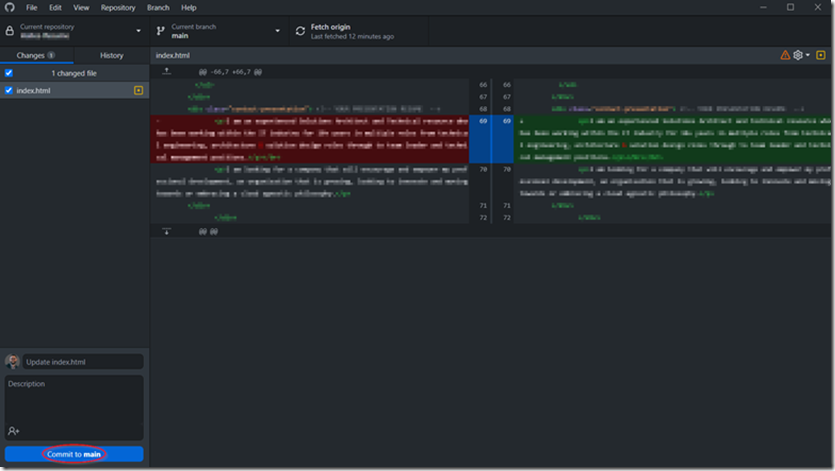
Once you’re ready to test your content, go ahead and commit / push content to the Repo
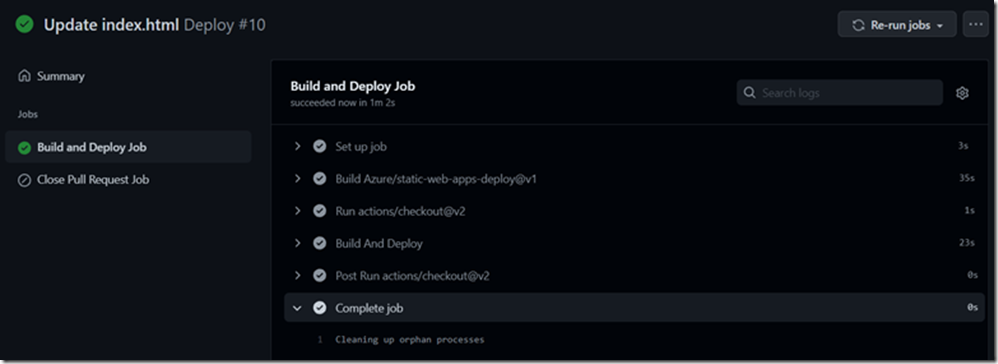
When the commit has been accepted it will trigger the workflow action which will then upload the contents of the repo to the Azure Static Web App. You can monitor the progress from the GitHub “Actions” tab of your repository
It will display the verbose output of the action within the job and once its finished it will show a big green tick
Check your Content
Browse to the URL of the web app to check the published connect
Added Bonus
You can add a custom domain to your Static Web App it’s super simple to do there is two steps you need to do
- If you are using CAA Records in your domain you need to add Digicert.com as an approved Certificate Authority
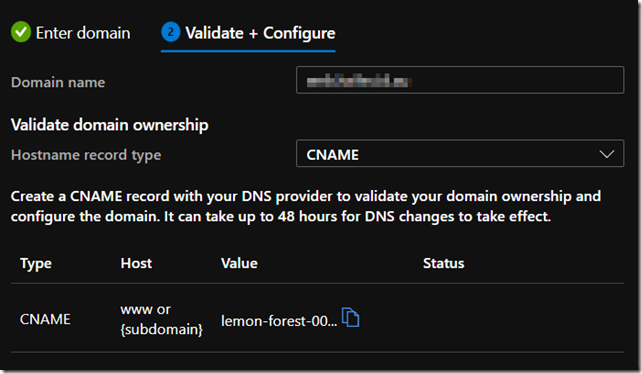
- Add a CNAME DNS record with your website hosting provider and point it to the random URL on the Static Web App Overview page
From Azure Portal
- Browse to the Static Web App
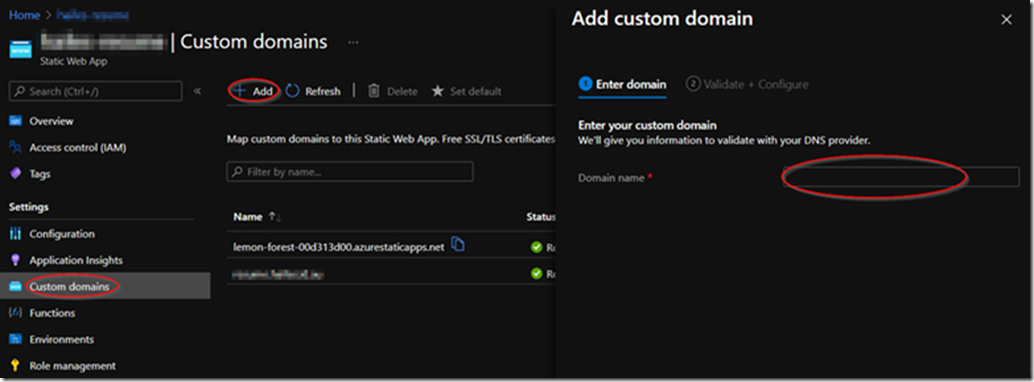
- Select “Custom Domains” from the left side blade
- Select “Add” and a right side blade will appear
- Enter the domain name you wish to have (for example subdomain.domain.com)
- Azure Portal will give you the details for the CNAME record you need to add once this is done you select “Add”
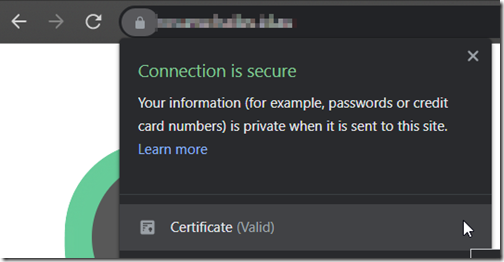
You should now see the new domain has been added to the domain list and is now ready for you to browse too


